Installing Ant Media Server on Amazon Elastic Kubernetes Service (EKS)
You need to have the AWS CLI software and the Kubernetes command line tool installed on your computer.
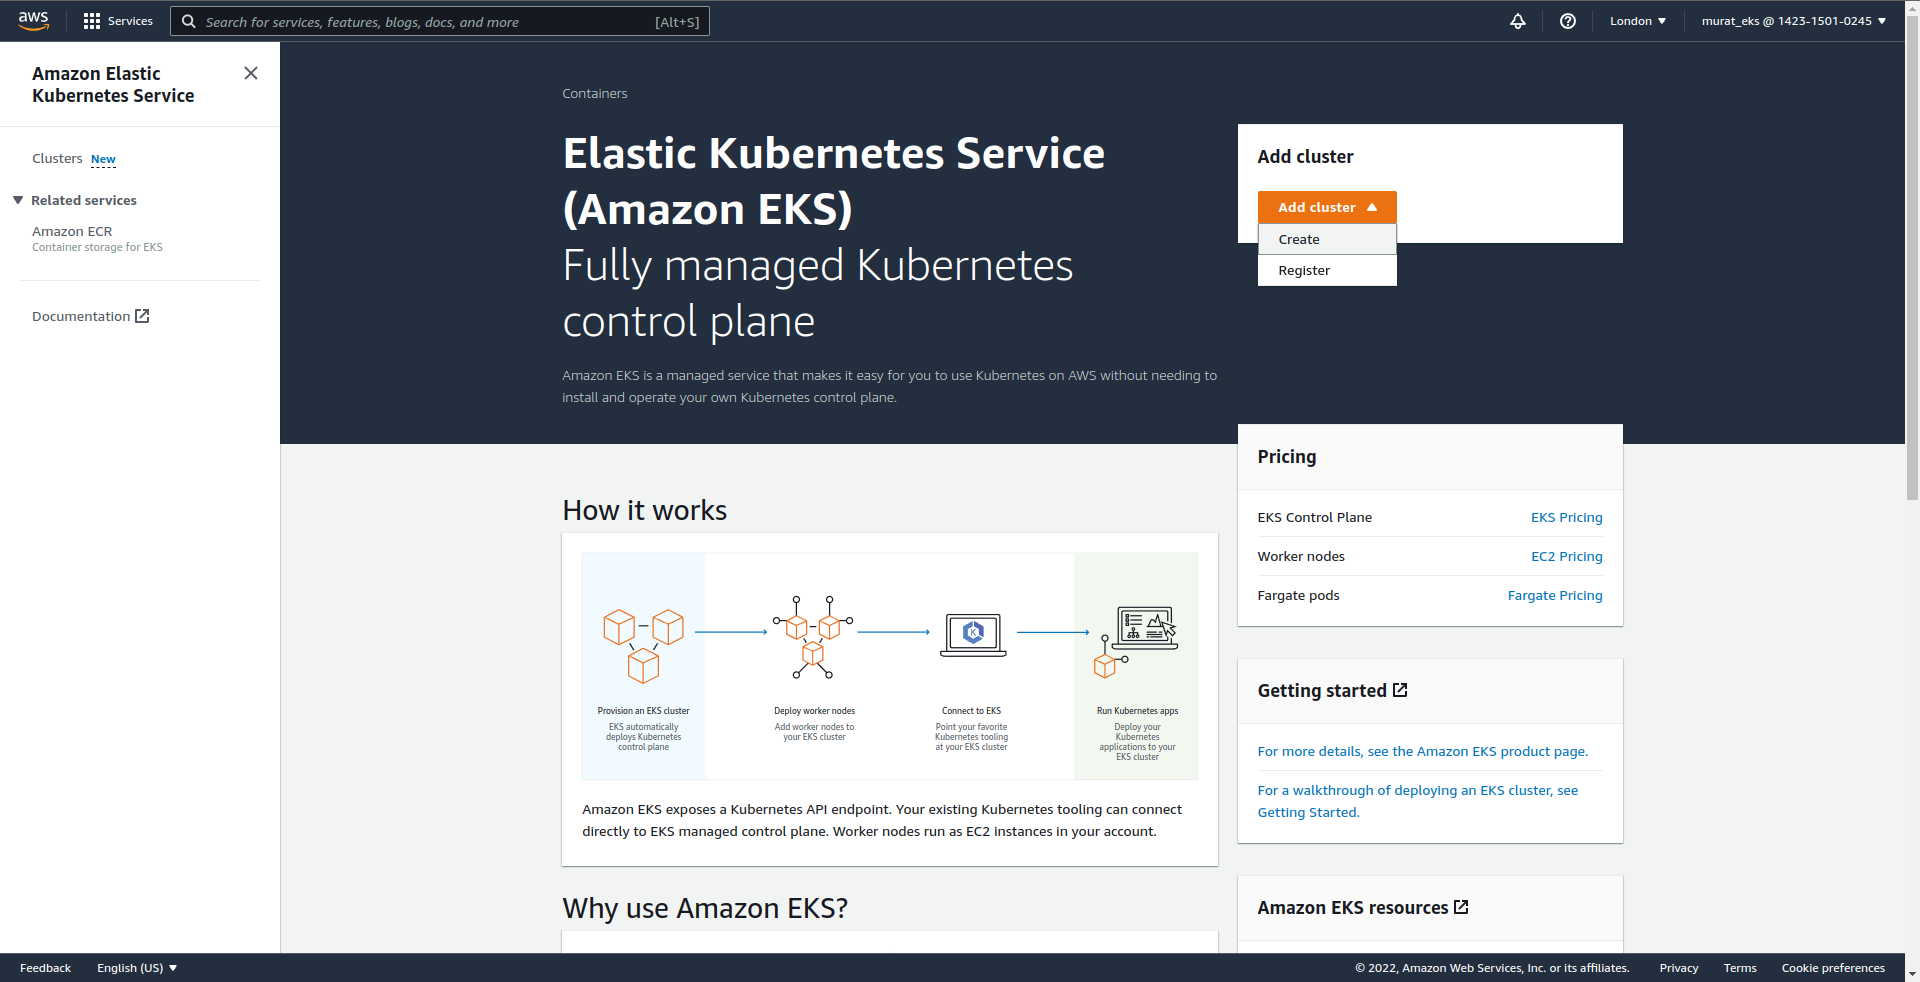
Step 1: Navigate to EKS Service
After logging into AWS, search for the EKS service and find the Elastic Kubernetes Service, then click the Add Cluster > Create button.
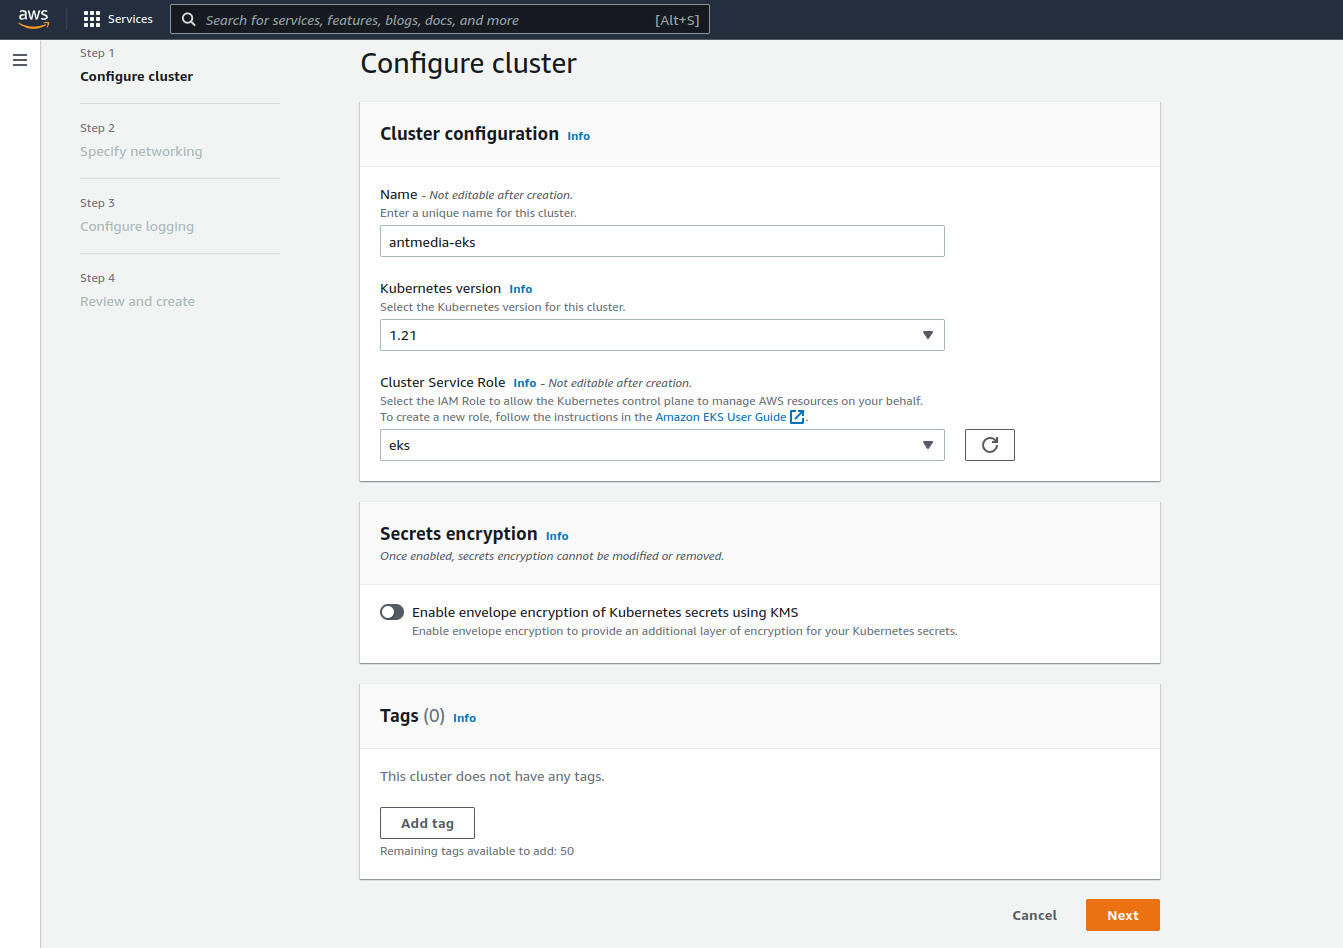
Step 2: Name the Kubernetes Cluster
After setting a name for the cluster, the Kubernetes version and Cluster Service Role should be selected. You can follow this link to create a Cluster Service Role.
Step 3: Configure Networking
In this section, subnets under VPC and VPC should be selected and a security group should be created.
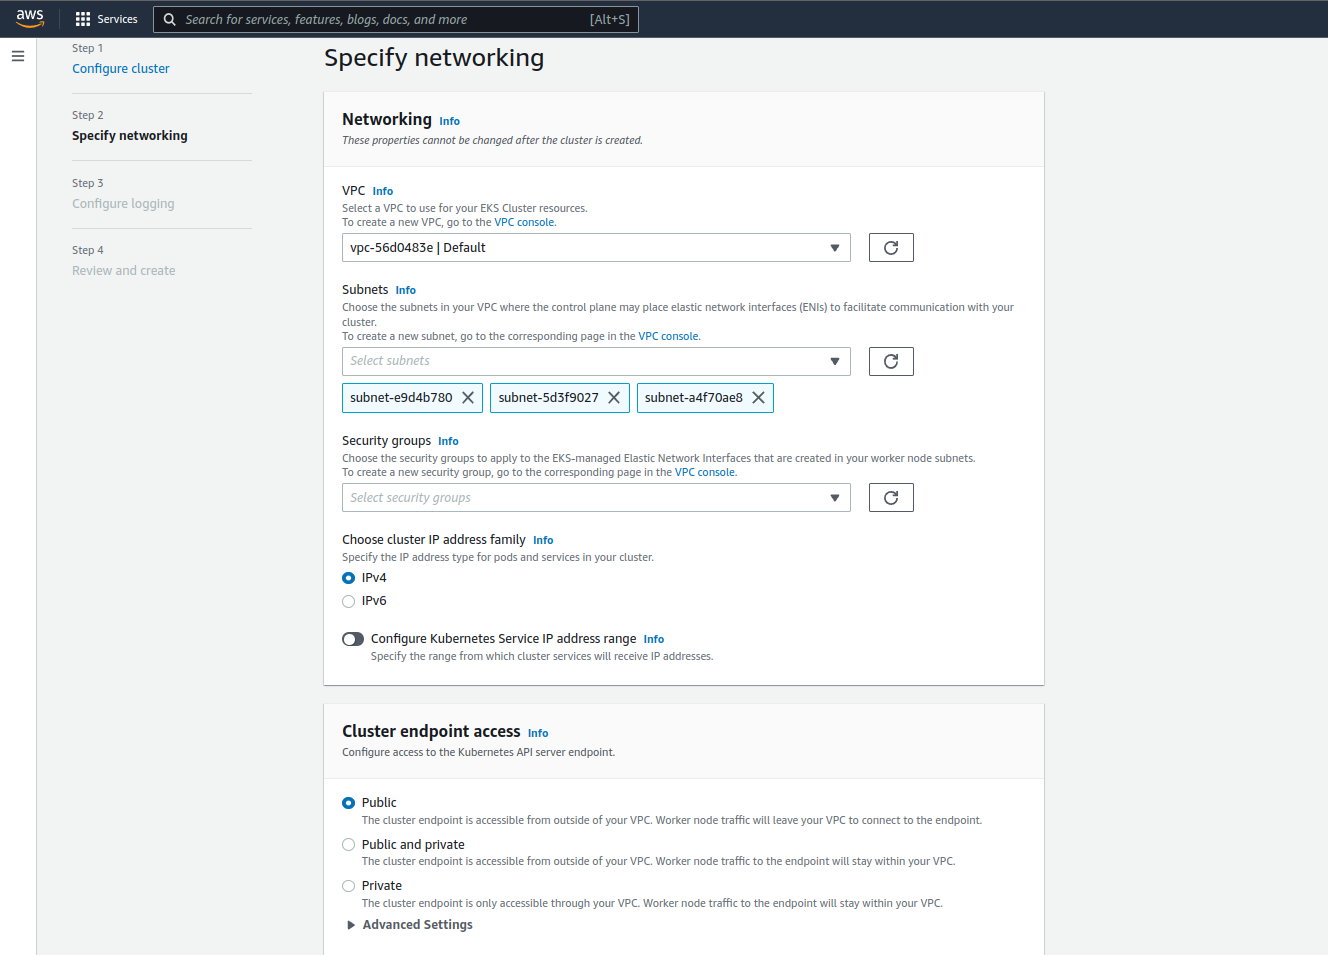
Endpoint access should be selected as Public and the Next button is clicked.

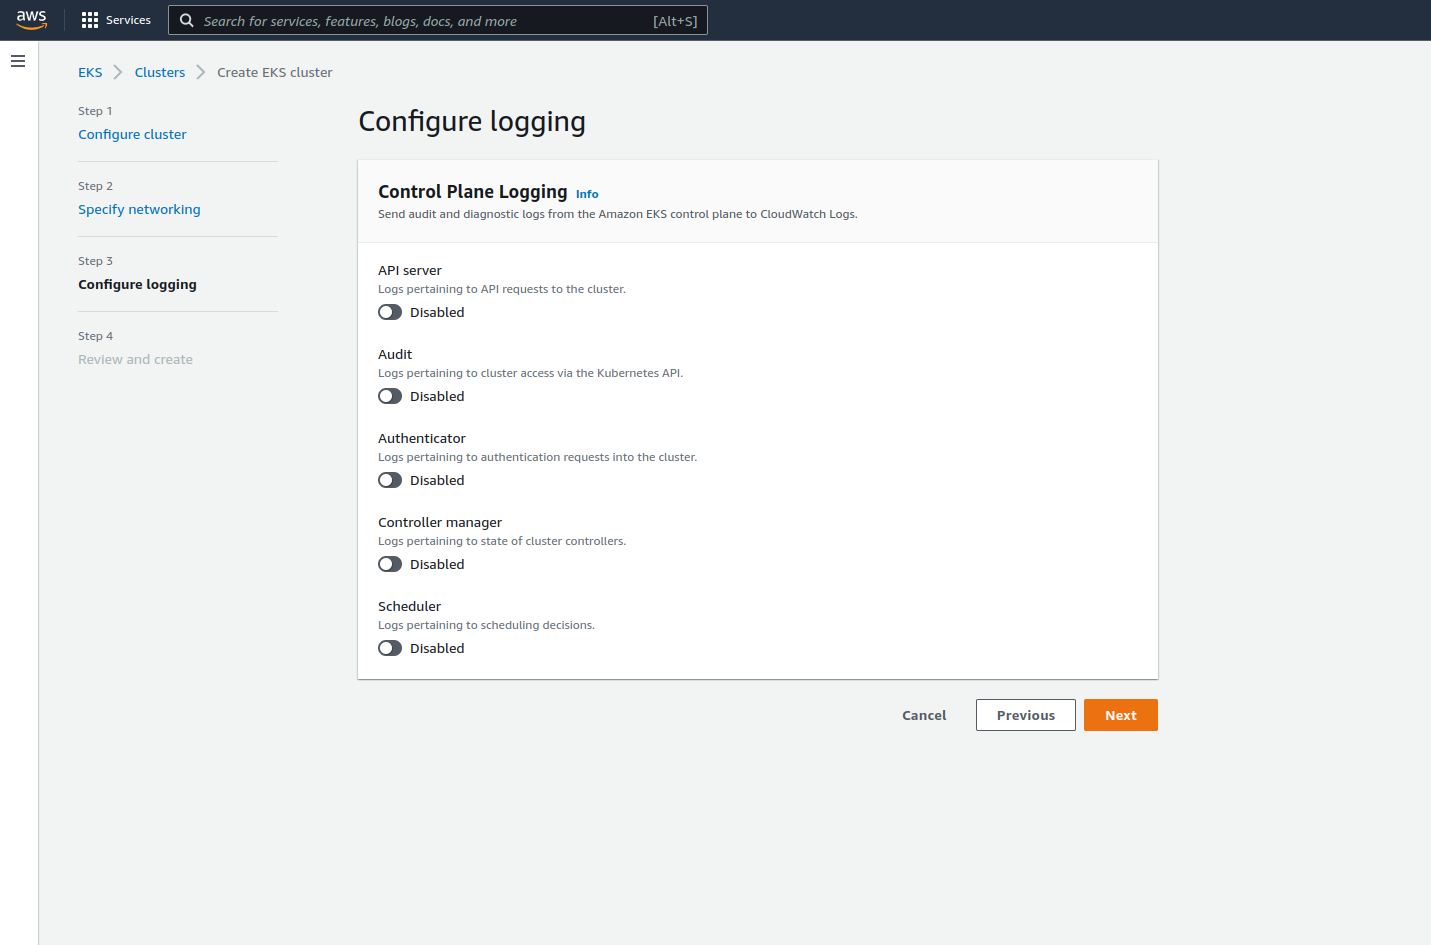
Step 4: Optionally Setup Logging
You can activate the following options for logging.
Step 5: Create the Cluster
Let’s confirm the configurations have been set correctly and create the cluster by clicking the Create button.

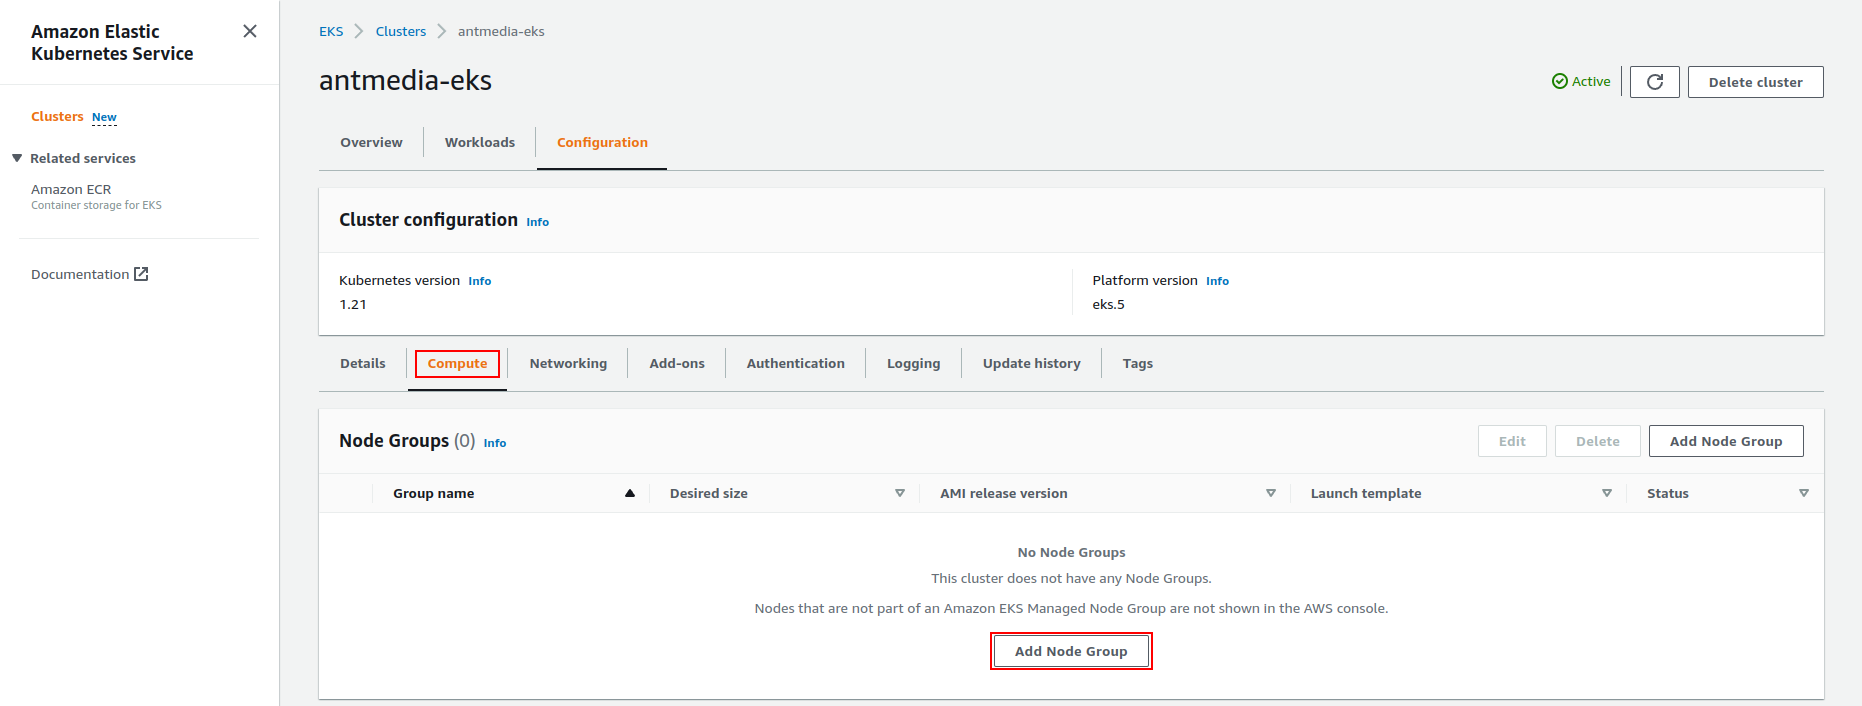
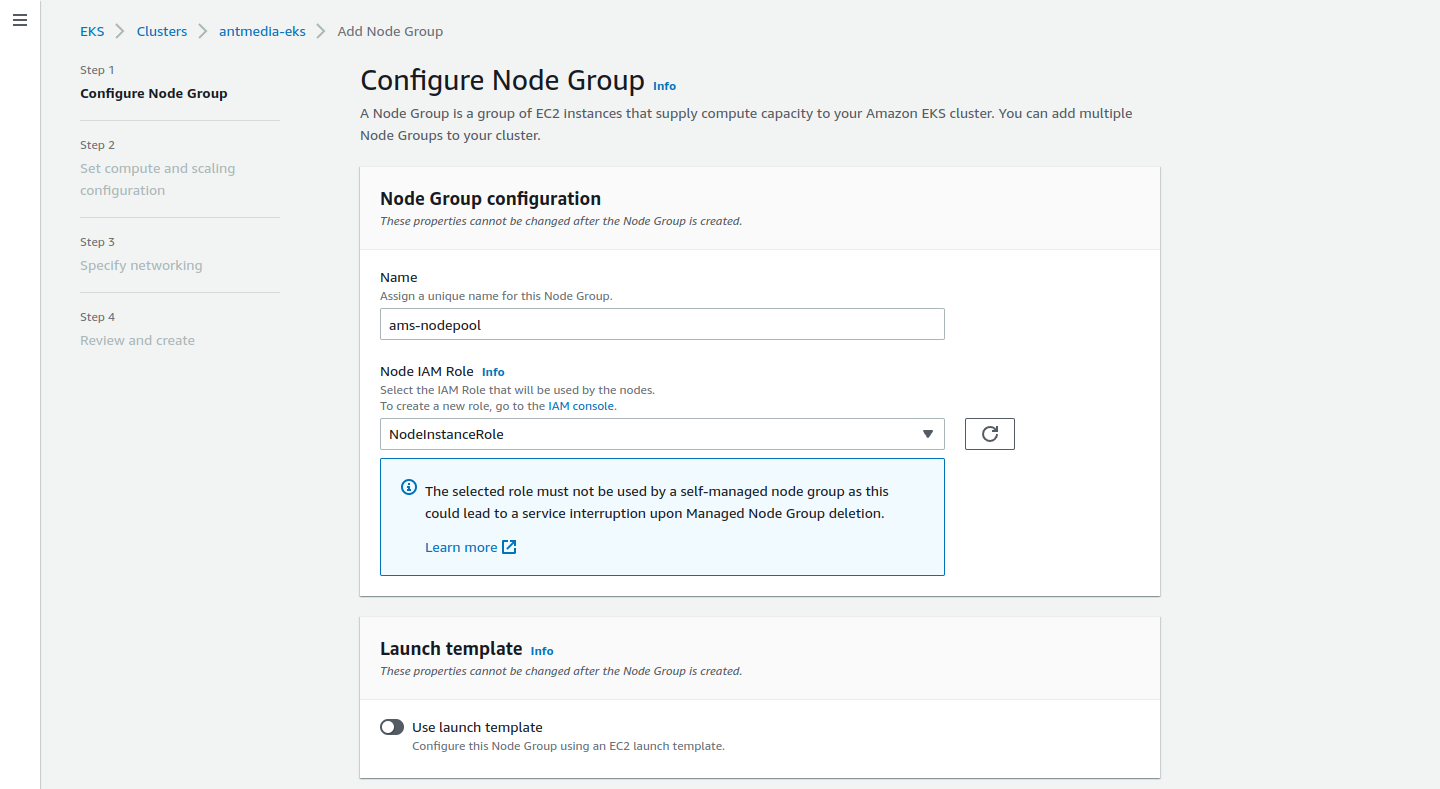
Step 6: Create a Node Group
When your cluster’s status is changed from pending to active, click on the Configuration > Compute tab and click on the Add Node Group button.
Type your node name and create the Node IAM Role.
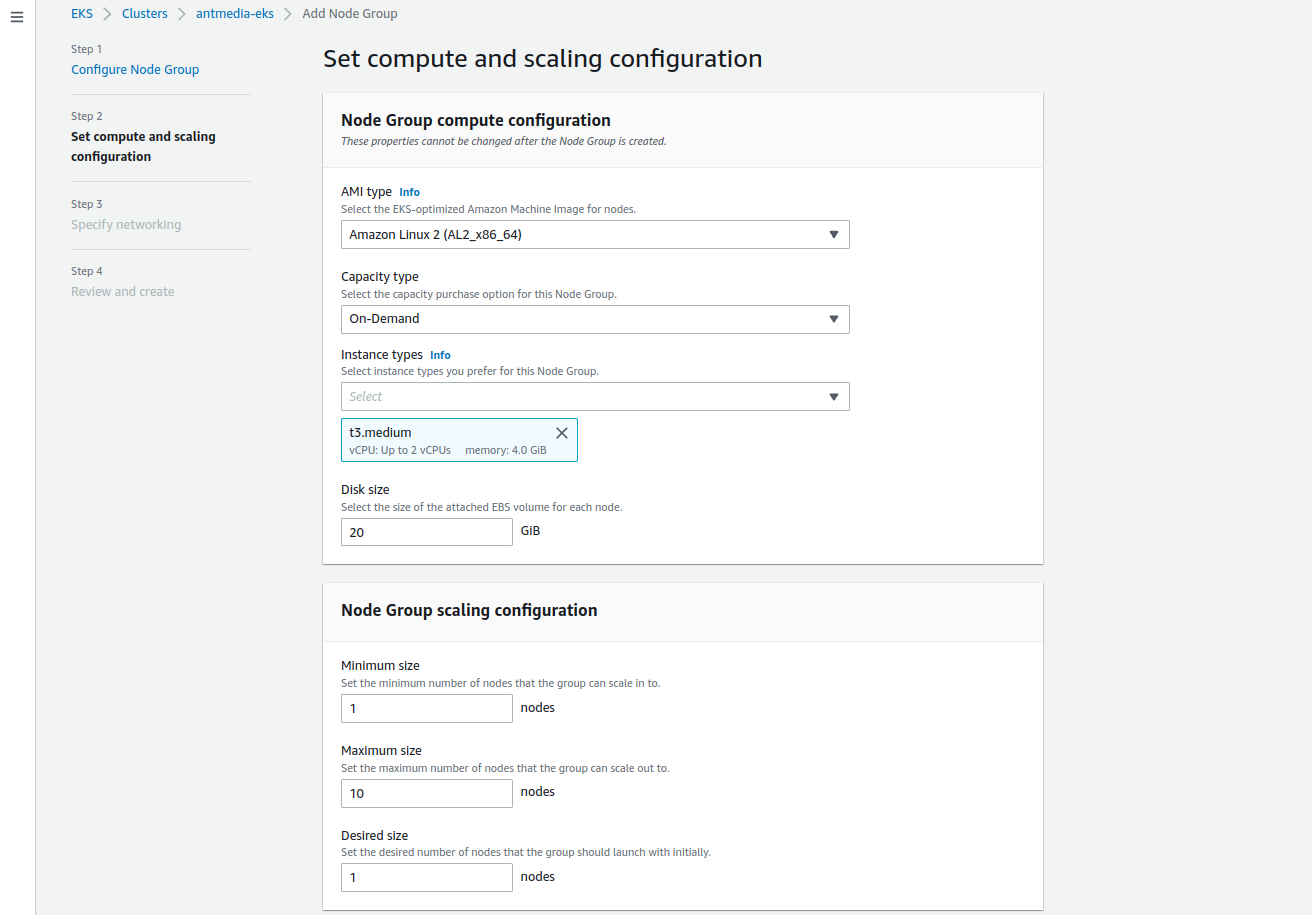
Step 7: Scaling Configure
Click on the Next button after you configure the scaling of the AMI type, Capacity type, Instance type, Disk and Node Group.
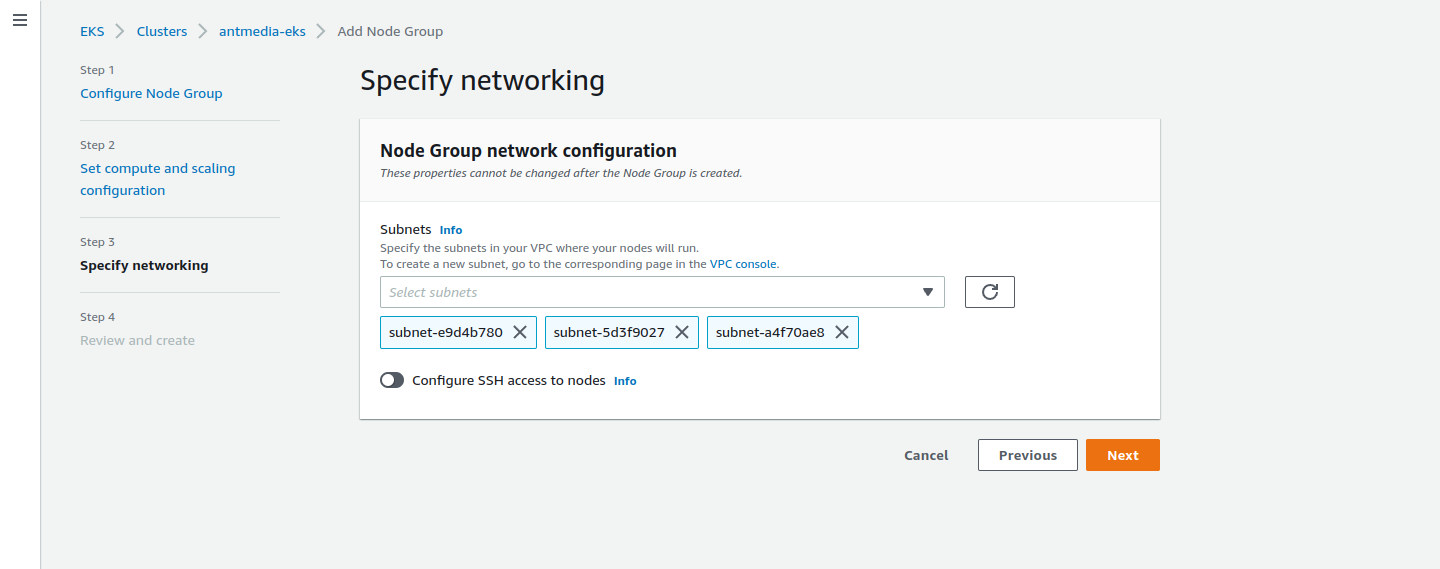
Step 9: Select Subnets
Select your subnets and click on the Next button.
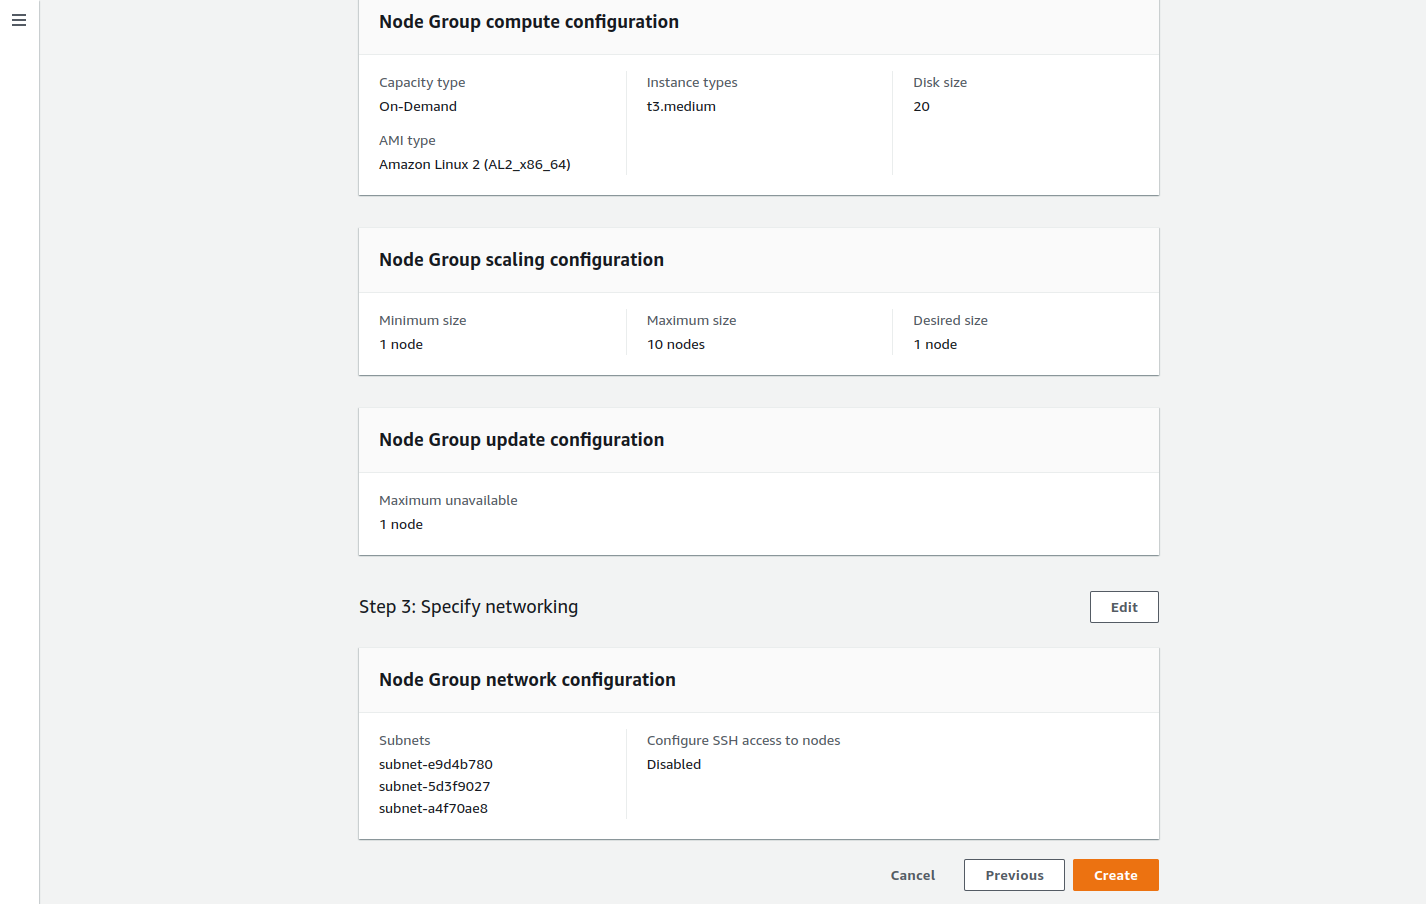
Step 10: Create the Node Pool
Finally, after checking the configurations, create the Node Pool by clicking on the Create button.
Step 11: Update Kubernetes Cluster
Update the Kubernetes cluster kubeconfig settings and then list the nodes with the kubectl get nodes command.
aws eks --region your_region update-kubeconfig --name clustername

Step 12: Deploy Ant Media Server
Now, it’s time to deploy Ant Media Server on the Kubernetes cluster by creating the yaml files.
First, you should organize your image field since you are going to change images. Here are the steps to organize your image field:
wget https://raw.githubusercontent.com/ant-media/Scripts/master/kubernetes/ams-k8s-deployment.yaml
kubectl create -f ams-k8s-deployment.yaml
kubectl create -f https://raw.githubusercontent.com/ant-media/Scripts/master/kubernetes/ams-k8s-hpa.yaml
kubectl create -f https://raw.githubusercontent.com/ant-media/Scripts/master/kubernetes/ams-k8s-rtmp.yaml
wget https://raw.githubusercontent.com/ant-media/Scripts/master/kubernetes/ams-k8s-ingress.yaml
Once the changes on the ams-k8s-ingress.yaml file are done, let’s create our ingress.
kubectl create -f ams-k8s-ingress.yaml
If everything works well, you will see the public IP address/domain name in the kubectl get ingress command’s output. After you make your DNS registration, you will be able to access over the domain you have determined.

Run kubectl get services command to get the RTMP address. You can send broadcasts over 1935 to the domain name that appears as EXTERNAL-IP.

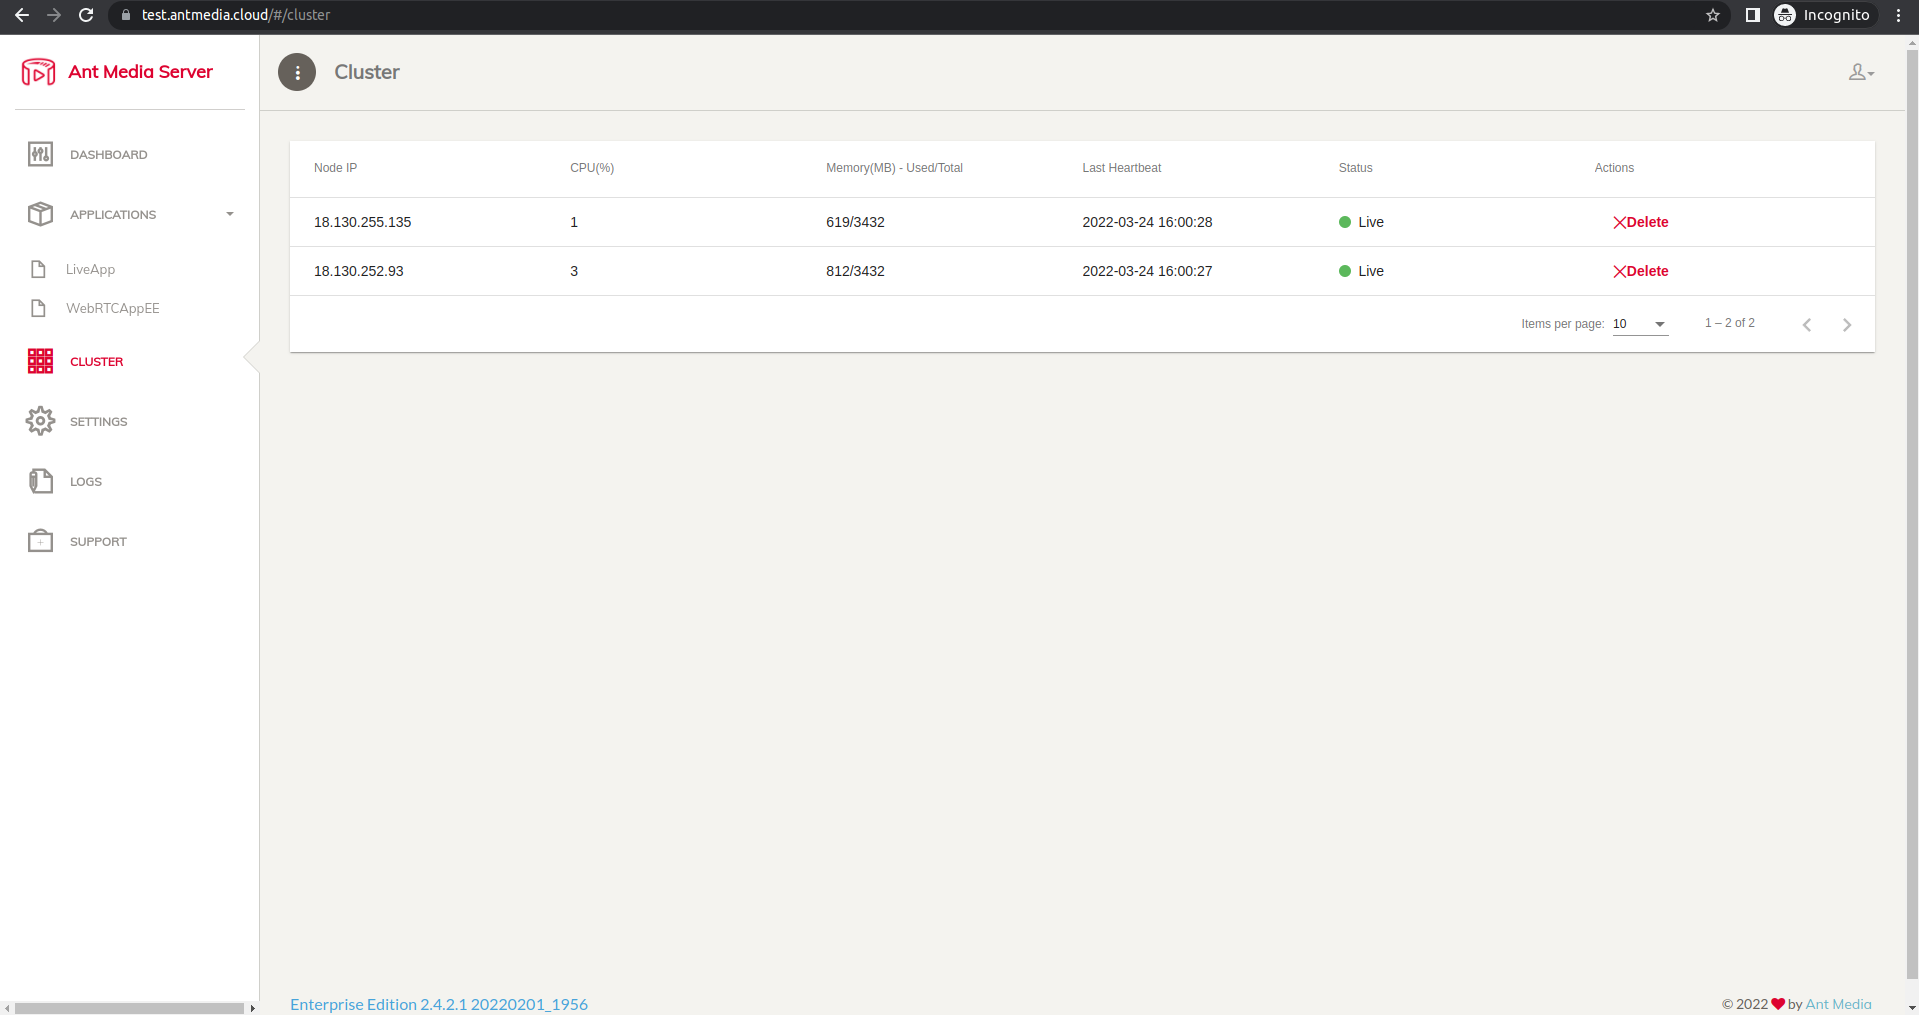
When we check the Ant Media Server dashboard, we can see that 2 nodes have joined the cluster.