React Native SDK
Ant Media's WebRTC React Native SDK lets you build your own React Native application that can publish and play WebRTC broadcasts with just a few lines of code.
In this doc, we're going to cover the following topics.
Pre-Requisite for React Native development
Software requirements
- Android Studio (IDE)
- Android SDK
- Java
- NodeJs
- NPM
- React Native CLI
First of all, you’re required to install the node on your system. If your machine already has Node.js installed, then skip this step.
Node.js Installation
-11a4d0f7ceadd577422e25819c17f507.png)
Download the latest Node.js from here nodejs.org/en
Once the setup is downloaded on your system, run the .msi downloaded file and follow the prompt instructions to install the application.
Furthermore, make ascertain that the Node and NPM have been installed.
Use the Below Commands-
node -v
npm –v
React Native
Use the command:
npm install -g react-native-cli
in the command terminal to install React Native.
Android Development Environment
Download & Install the Android Studio https://developer.android.com/studio/install.html
-619cf5b232686abf760d8925b616c1dd.png)
The Android Studio lets you run the Reactive Native application in an emulator and test the application.
Verify React Native Installation By running a sample app
We’ll be building a project using React Native by running the following command:
react-native init MySampleApp
in the terminal from the folder where you will be creating the application.
Now, run commands below:
react-native start
react-native run-android
Make sure you’ve started the emulator on your machine.
This Is how the sample project will look like in the Emulator:
-0d45aedd56e3c0326c2ab0ce6fbb917c.png)
Download and install WebRTC sample apps
Download sample React Native projects
WebRTC React Native samples are free to download. You can access them through this link on Github.
After downloading the whole project, you can see all samples React Native projects in the **samples** folder.

Install dependencies and run sample projects
For installing dependencies you can use npm or as an alternative method, you can also use yarn.
Install yarn by following this link.
First, you need to open the terminal on the root directory of the sample project you want to install and then run commands below.
To install dependencies by npm run npm install
or
To install dependencies by yarn run yarn install
After dependencies are installed , you need to run commands below in order to run the project itself.
Run npm run android if using npm
or
Run yarn android if using yarn
` Note: If you want to use npm, then follow only npm commands and if you want to use yarn then follow only yarn commands.
After the project starts successfully, sample app will appear on the device/emulator.
Run the sample React Native app
Publish a stream from your sample React Native app
- Open /samples/publish/src/App.tsx file and update defaultStreamName variable for stream name and update webSocketUrl variable with server name.

- Move to /samples/publish folder and follow the Install dependencies and run sample projects steps to run the Publish sample React native app.

- Tap
Start Publishingbutton on the screen. After the clickingStart Publishing, the stream will be published on Ant Media Server. - You can now go to the web panel of Ant Media Server (e.g http://server_ip:5080) and watch the stream there. You can also quickly play the stream via
https://your_domain:5443/WebRTCAppEE/player.html
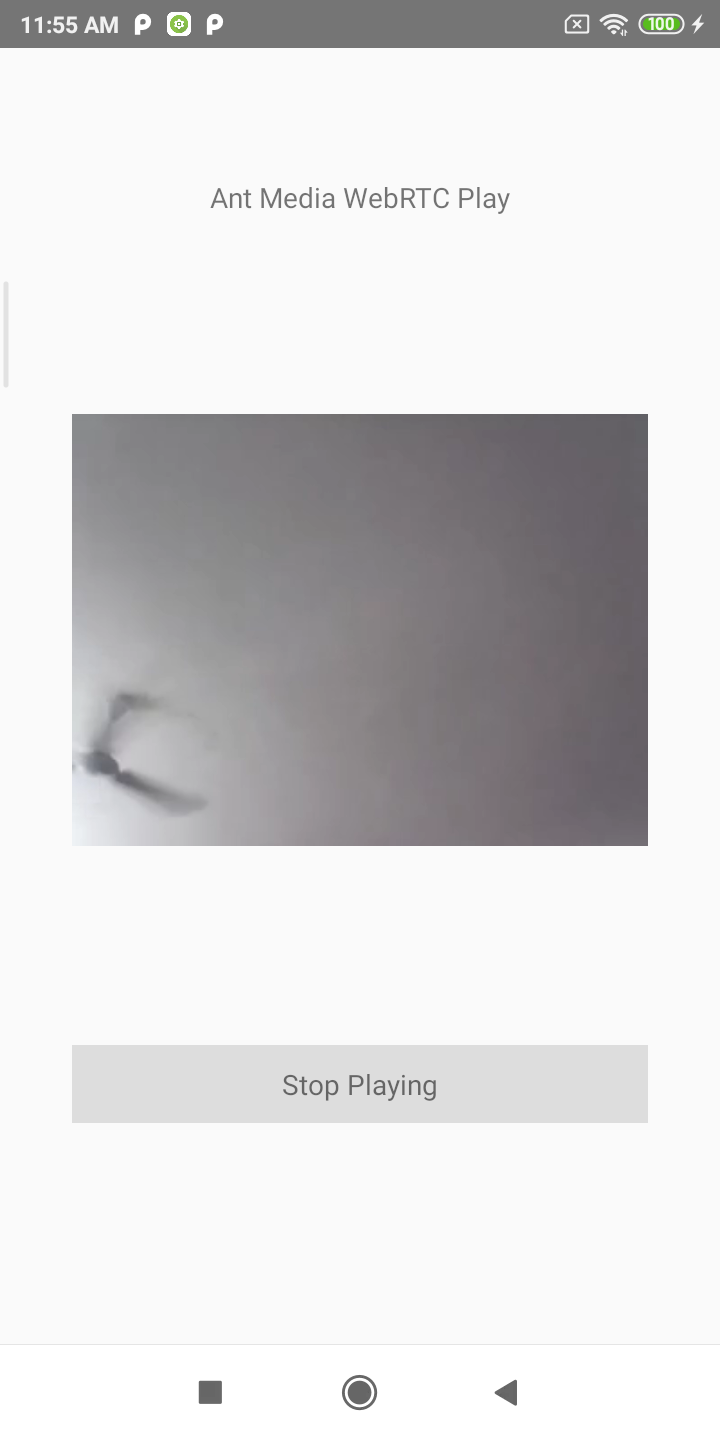
Play stream from your sample React Native app
Open /samples/play/src/Play.tsx file and update defaultStreamName variable for stream name and update webSocketUrl variable with server name.
Go to /samples/play folder and follow the Install dependencies and run sample projects steps to run the Play sample React native app.
Before playing, make sure that there is a stream that is already publishing to the server with the same stream id in your defaultStreamName variable(You can quickly publish to the Ant Media Server via
https://your_domain:5443/WebRTCAppEE).
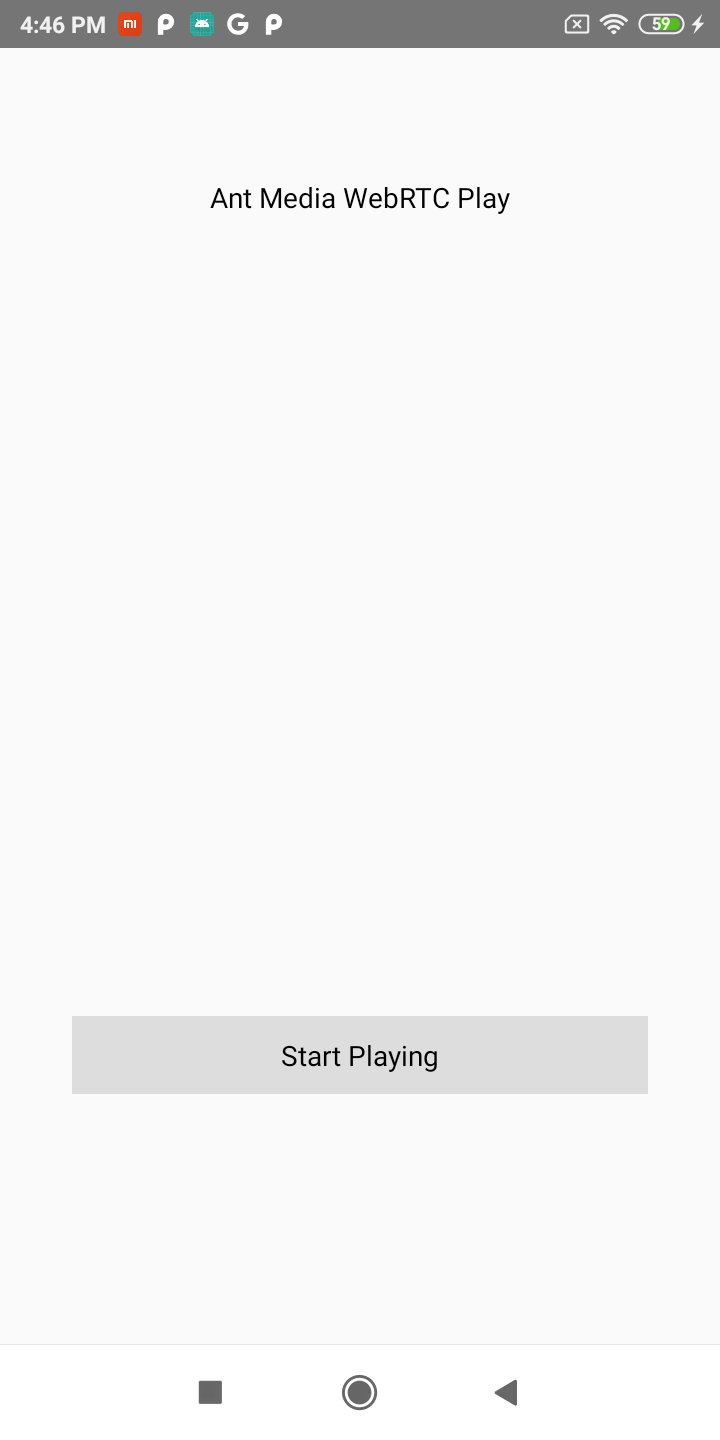
- Tap
Start Playingbutton on the screen. After clicking Start Playing , the stream will start playing.
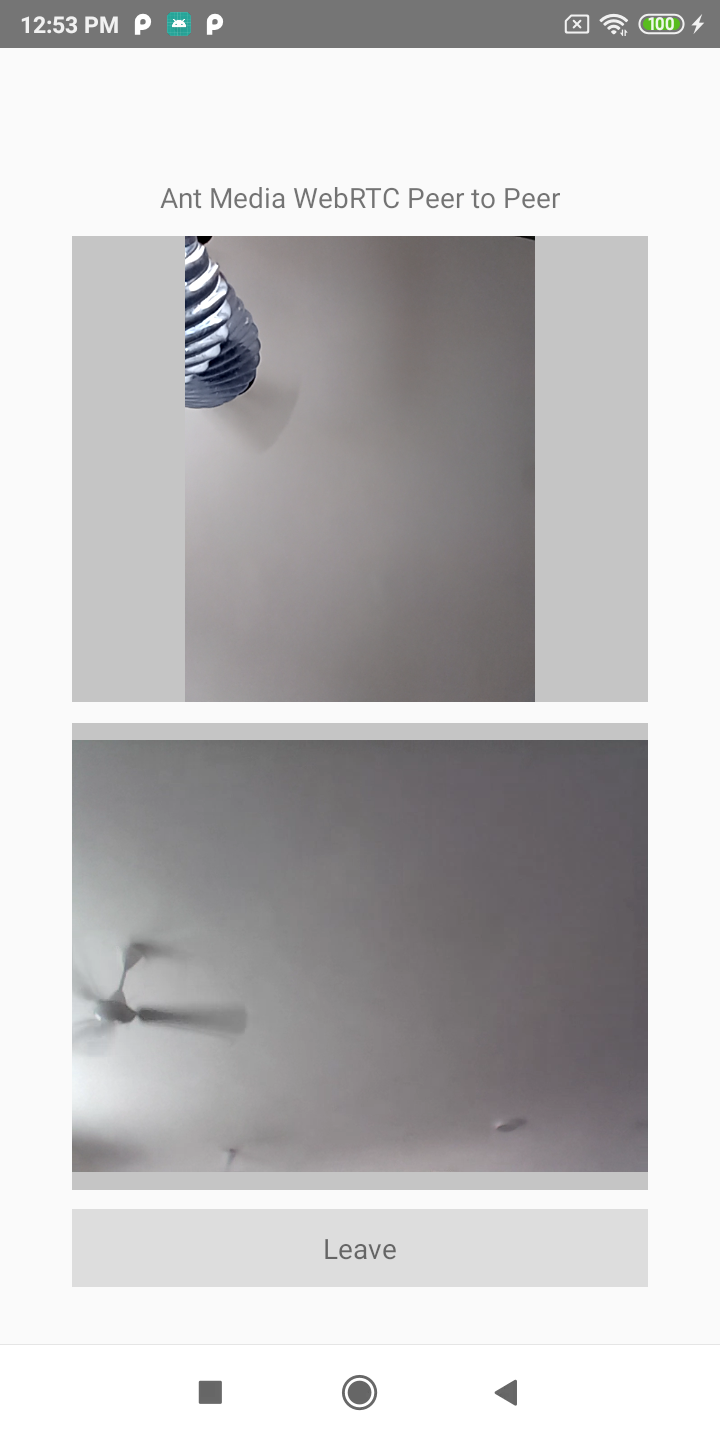
P2P communication with sample React Native app
- Open /samples/peer/src/Peer.tsx file and update defaultStreamName variable for stream name and update webSocketUrl variable with server name.
- Go to /samples/peer folder and follow the Install dependencies and run sample projects steps to run the Peer sample React native app.

- When there is another peer connected to the same stream ID via Android, iOS or web, the P2P communication will be established and you can talk to each other. You can quickly connect to the same stream id via
https://your_domain:5443/WebRTCAppEE/peer.html
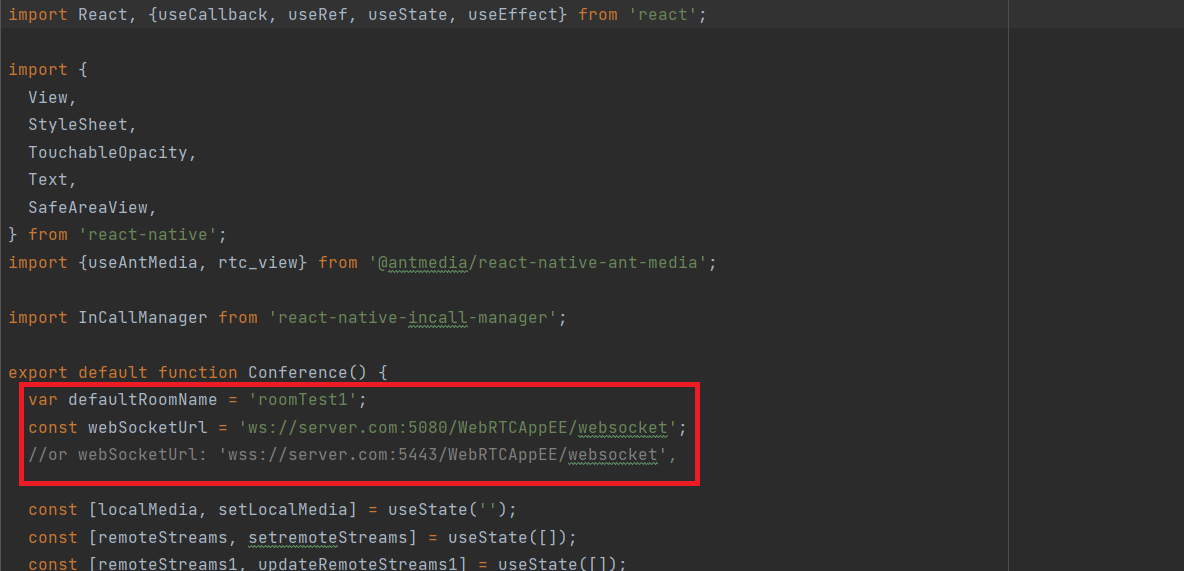
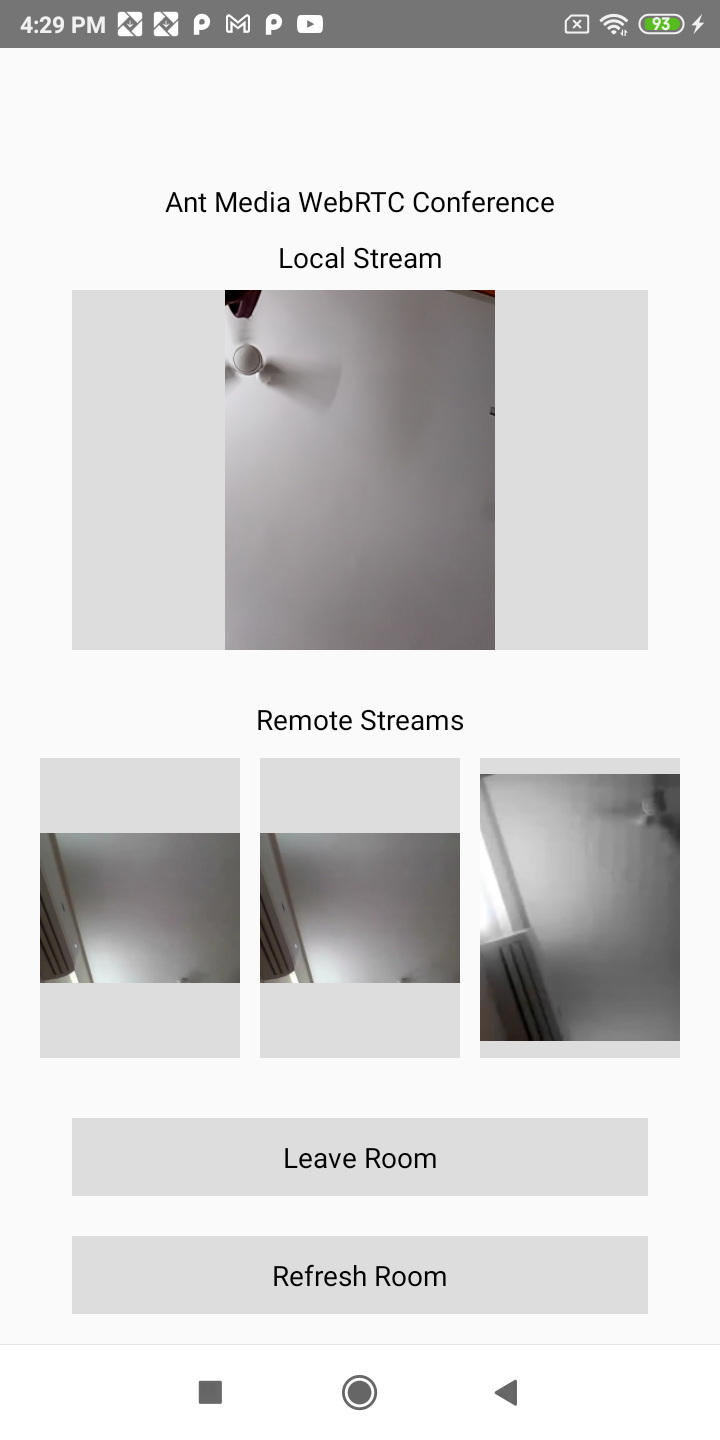
Conference with your React Native sample app
- Open /samples/conference/src/conference.tsx file and update defaultRoomName variable for stream name and update webSocketUrl variable with server name.
- Go to /samples/conference folder and follow the Install dependencies and run sample projects steps to run the Conference sample React native app.

When there are other streams connected to the same room id via Android, iOS or Web, then a conference room will be established and you can talk to each other. You can quickly connect to the same stream id via
https://your_domain:5443/WebRTCAppEE/conference.html
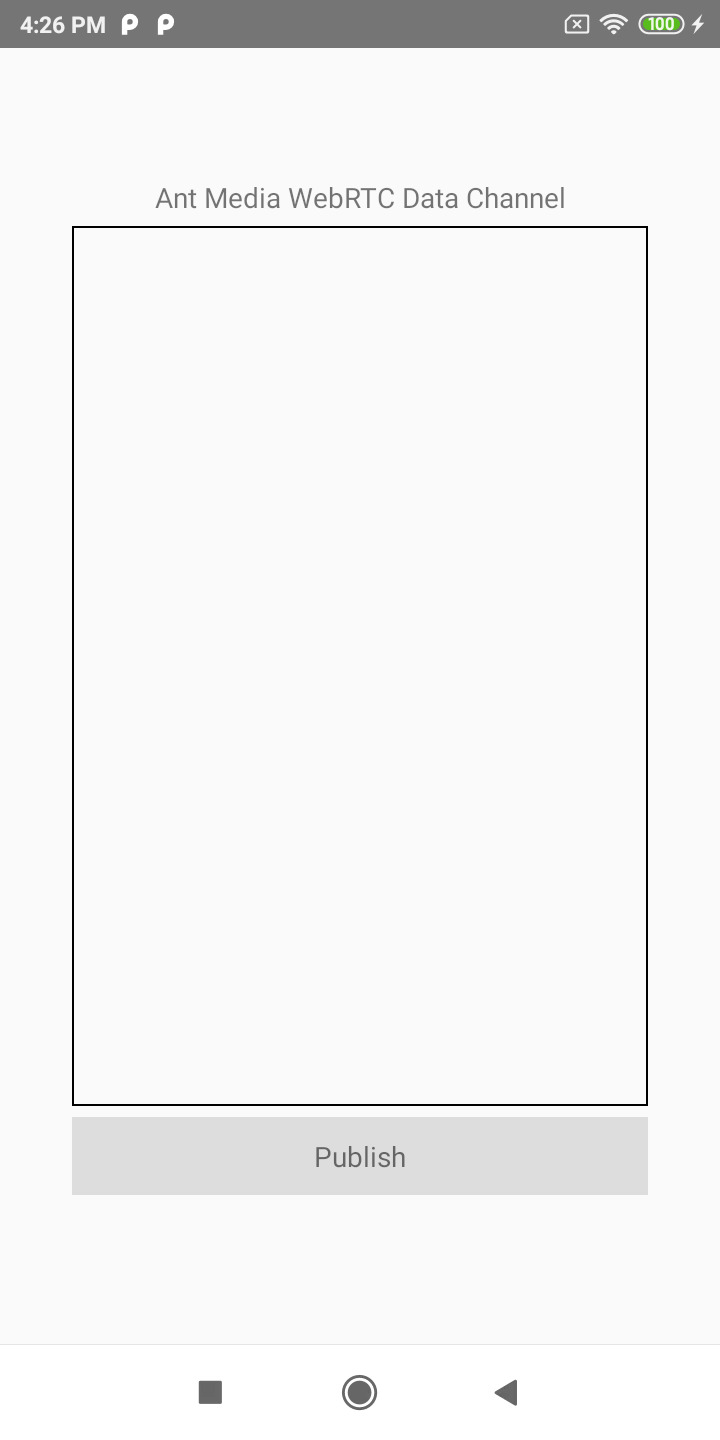
Data Channel with your React Native Sample app
Open /samples/DataChannel/src/Chat..tsx file and update defaultStreamName variable for stream name and update webSocketUrl variable with server name.
Go to /samples/DataChannel folder and follow the Install dependencies and run sample projects steps to run the Play sample React native app.
Tap Publish button to start publishing in data channel.
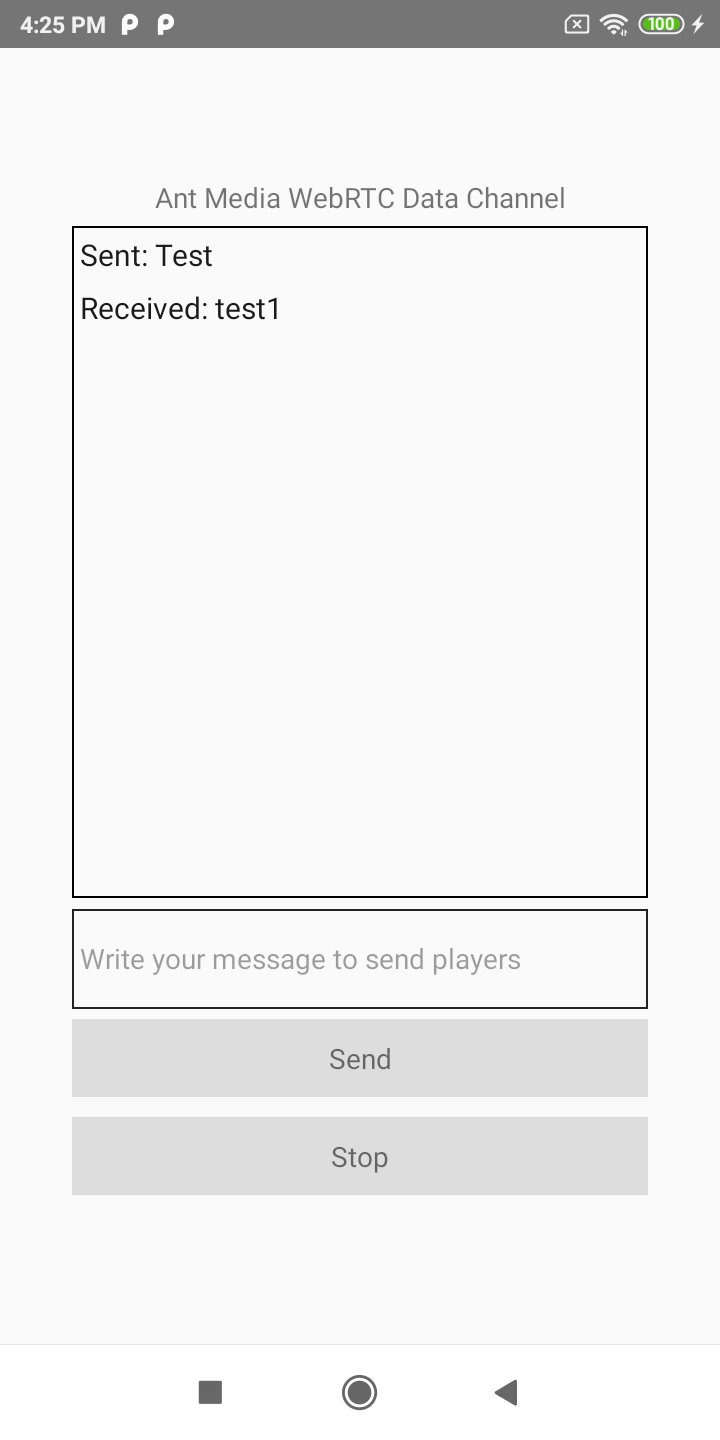
- After that you can start sending messages using send button and also can see the received button, You can also quickly play the stream via https://your_domain:5443/WebRTCAppEE/player.html and send and receive the data channel messages.
Using WebRTC React Native SDK
Before moving forward with using WebRTC React Native SDK, we highly recommend using the sample project to get started with your application. It's good to know the dependencies and how it works in general.
Install @antmedia/react-native-ant-media Package
npm
npm i @antmedia/react-native-ant-media react-native-webrtc
yarn
yarn add @antmedia/react-native-ant-media react-native-webrtc
initialize useAntMedia adaptor
import { useAntMedia, rtc_view } from "@antmedia/react-native-ant-media";

const adaptor = useAntMedia({
  url: webSocketUrl, // your web socket server URL
  mediaConstraints: {
    // mediaConstraints
    audio: true,
    video: {
      width: 640,
      height: 480,
      frameRate: 30,
      facingMode: "front",
    },
  },
  onlyDataChannel: false, // for using only data channel not audio and video
  callback(command, data) {}, // check info callbacks
  callbackError: (err, data) =>` {}, // // check error callbacks
  peer_connection_config: {
    // peerconnection_config
    iceServers: [{ urls: "stun:stun1.l.google.com:19302" }],
  },
  debug: true, // debug true / false
});

// Then, in another part of your script, you can start streaming by calling the publish method
adaptor.publish(streamName);
The example above is taken from ant-media / WebRTC-React-Native-SDK
How to publish a stream
The method below is used to publish a stream.
adaptor.publish(streamName);
The method below is used to stop publish
adaptor.stop(streamName);
Detailed code can be viewed in ant-media / WebRTC-React-Native-SDK Publish
How to play a stream
The method below is used to play a stream.
adaptor.play(streamName);
Detailed code can be viewed in ant-media / WebRTC-React-Native-SDK Play
How to use peer 2 peer
The method method is used to join a room.
adaptor.join(streamName);
The method below is used to leave a room.
adaptor.leave(streamName);
Detailed code can be viewed in ant-media / WebRTC-React-Native-SDK p2p
How to use conference
The method below is used to join a room.
adaptor.joinRoom(room);
The method below is used to leave a room.
adaptor.leaveFromRoom(room);
Detailed code can be viewed in ant-media / WebRTC-React-Native-SDK Conference
How to use the data channel
The method below is used to send messages.
adaptor.sendData(streamId, message);
Detailed code can be viewed in ant-media / WebRTC-React-Native-SDK Data Channel
` Check Also: WebRTC-React-Native-SDK