HLS Playing
HLS Playing is available in both the Community and Enterprise Editions. Before playing a stream, make sure that the stream is broadcasting on the server.
Quick Link: Learn How to Publish Live Streams
Navigate to the video player
You can use the embedded player play.html to play the streams with HLS.
Please go to https://AMS-domain-name:5443/WebRTCAppEE/play.html.
If you have Ant Media Server installed on your computer, you may also go to http://localhost:5080/WebRTCAppEE/play.html.
To play a HLS stream, provide streamId as the id and hls as the playOrder parameters in the URL shown below.
https://AMS-domain-name:5443/WebRTCAppEE/play.html?id=test&playOrder=hls
The HLS playback will start automatically when the stream is live.

Autoplay is enabled by default in a player but it may not be activated for some policies in Chrome and Firefox. So you may need to click the player button to get it started. Look at the following links:
Congrats. You're playing with HLS.
Sub Folder Playing
If you've set up your broadcast object to store stream files within a specific sub folder, using the configuration:
subFolder:"exampleSubFolder"
Your stream files will be automatically saved to:
antmedia/webapps/{appName}/streams/exampleSubFolder/
In such cases, when configuring embedded player to stream these files, ensure to pass exampleSubFolder/{streamId} as the ID parameter. For instance, if your stream ID is teststream, the embedded player URL should look like this:
https://AMS-domain-name:5443/WebRTCAppEE/play.html?id=exampleSubFolder/teststream&playOrder=hls
This will enable seamless playback of your streams using the embedded player.
More Details About HLS
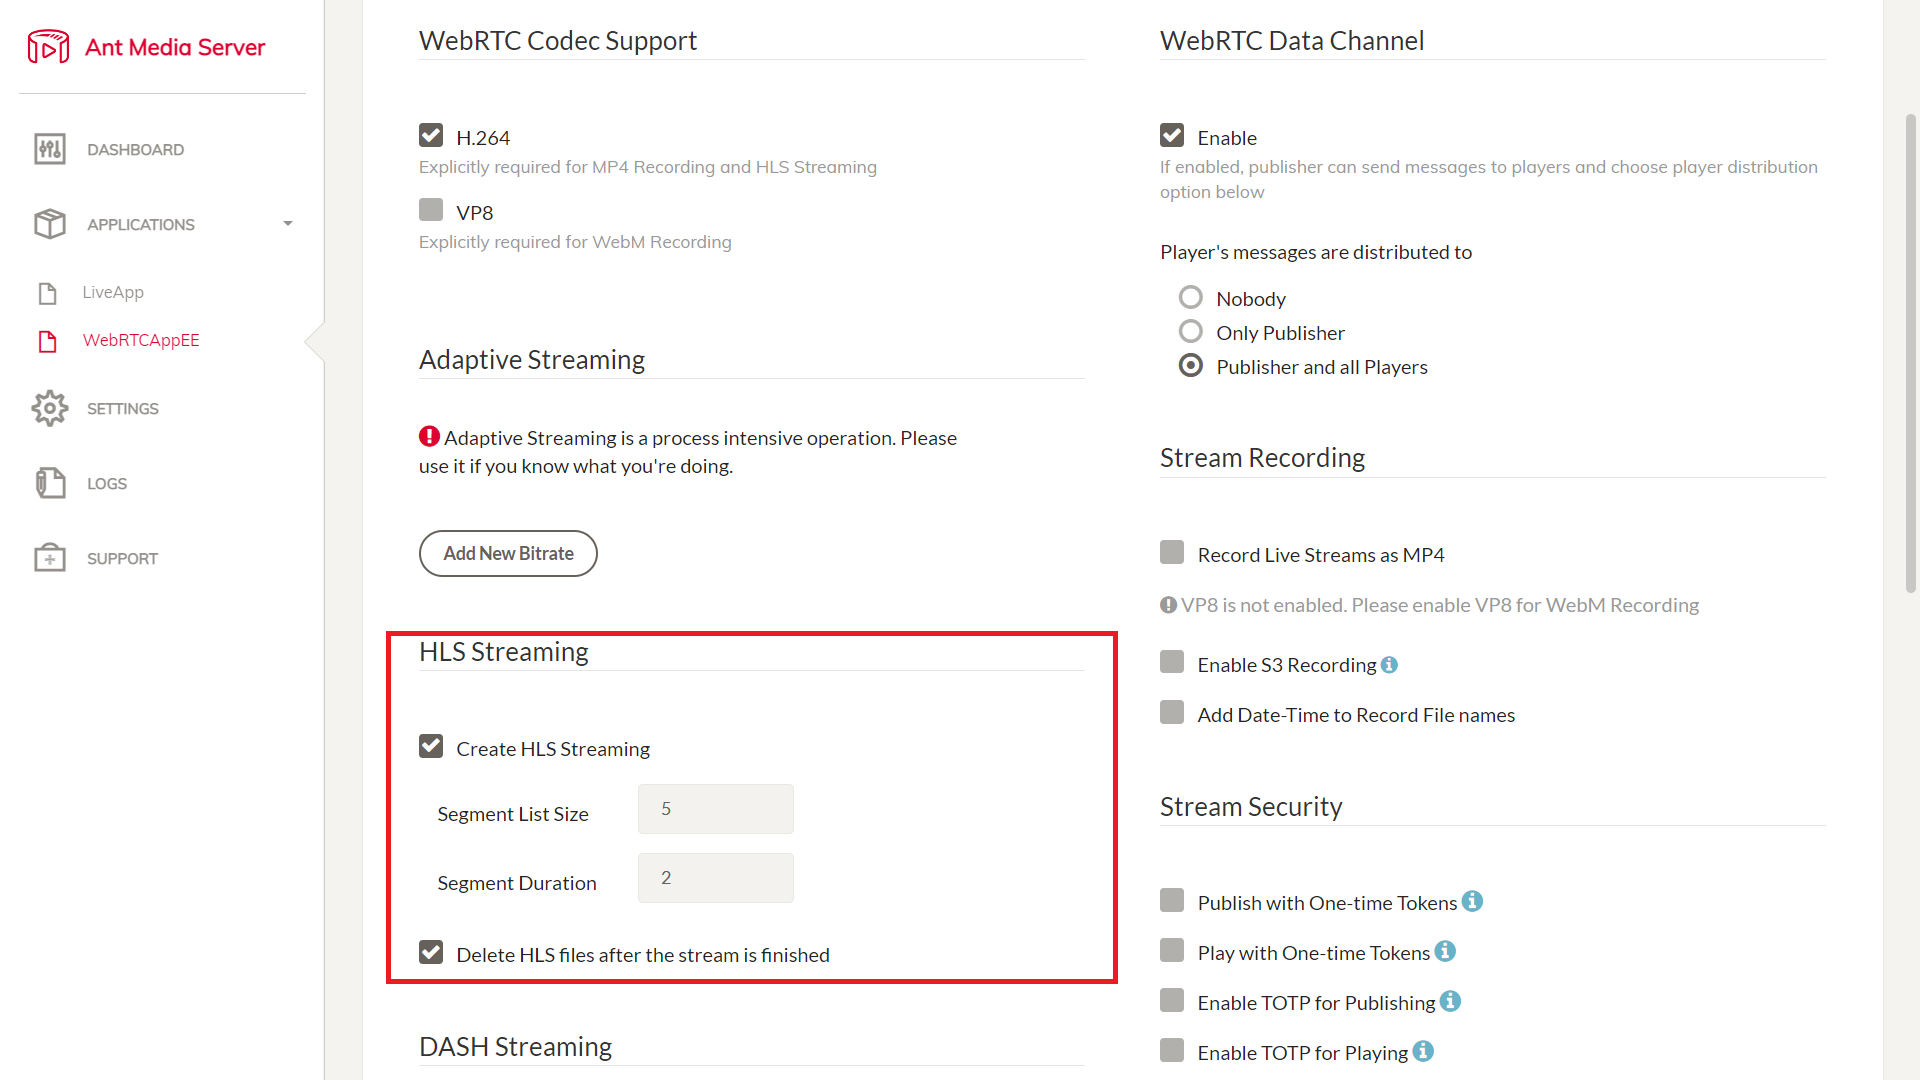
Make sure HLS muxing is enabled in your application. You may confirm this by clicking the Create HLS Streaming checkbox in the app's settings on the web management panel.

Assume HLS muxing is enabled and a stream is published to Ant Media Server.
- Default HLS (.m3u8) URL:
http://AMS-domain-or-IP:5080/WebRTCAppEE/streams/StreamId.m3u8 - If adaptive bit rates are enabled in the application (Enterprise Edition), the HLS (.m3u8) URL will be as follows:
http://AMS-domain-or-IP:5080/WebRTCAppEE/streams/StreamId_adaptive.m3u8
Note: Beginning with version 2.4.1, the filename structure included the bitrate in the name. For example, 480p ABR is enabled on the server and you want to play it.
In prior versions, the HLS filename was streamId_480p.m3u8, but now it is stream1_480p1000kbps.m3u8, as we enabled the same resolution with multiple bitrates.
If you would like to use the old structure, check the following post.
Interactive Streaming with ID3 Tags in HLS
Using ID3 tags in HLS you can insert any kind of timed metadata, such as overlaying some text or images in specific moments to show comments, emojis, ads, markers, etc. where ID3 is a data stream.
The feature to use ID3 tags was introduced in Ant Media Server version 2.7.0
Enabling ID3 Tags
In order to use the ID3, it is first needed to enable the ID3 tags for the application.
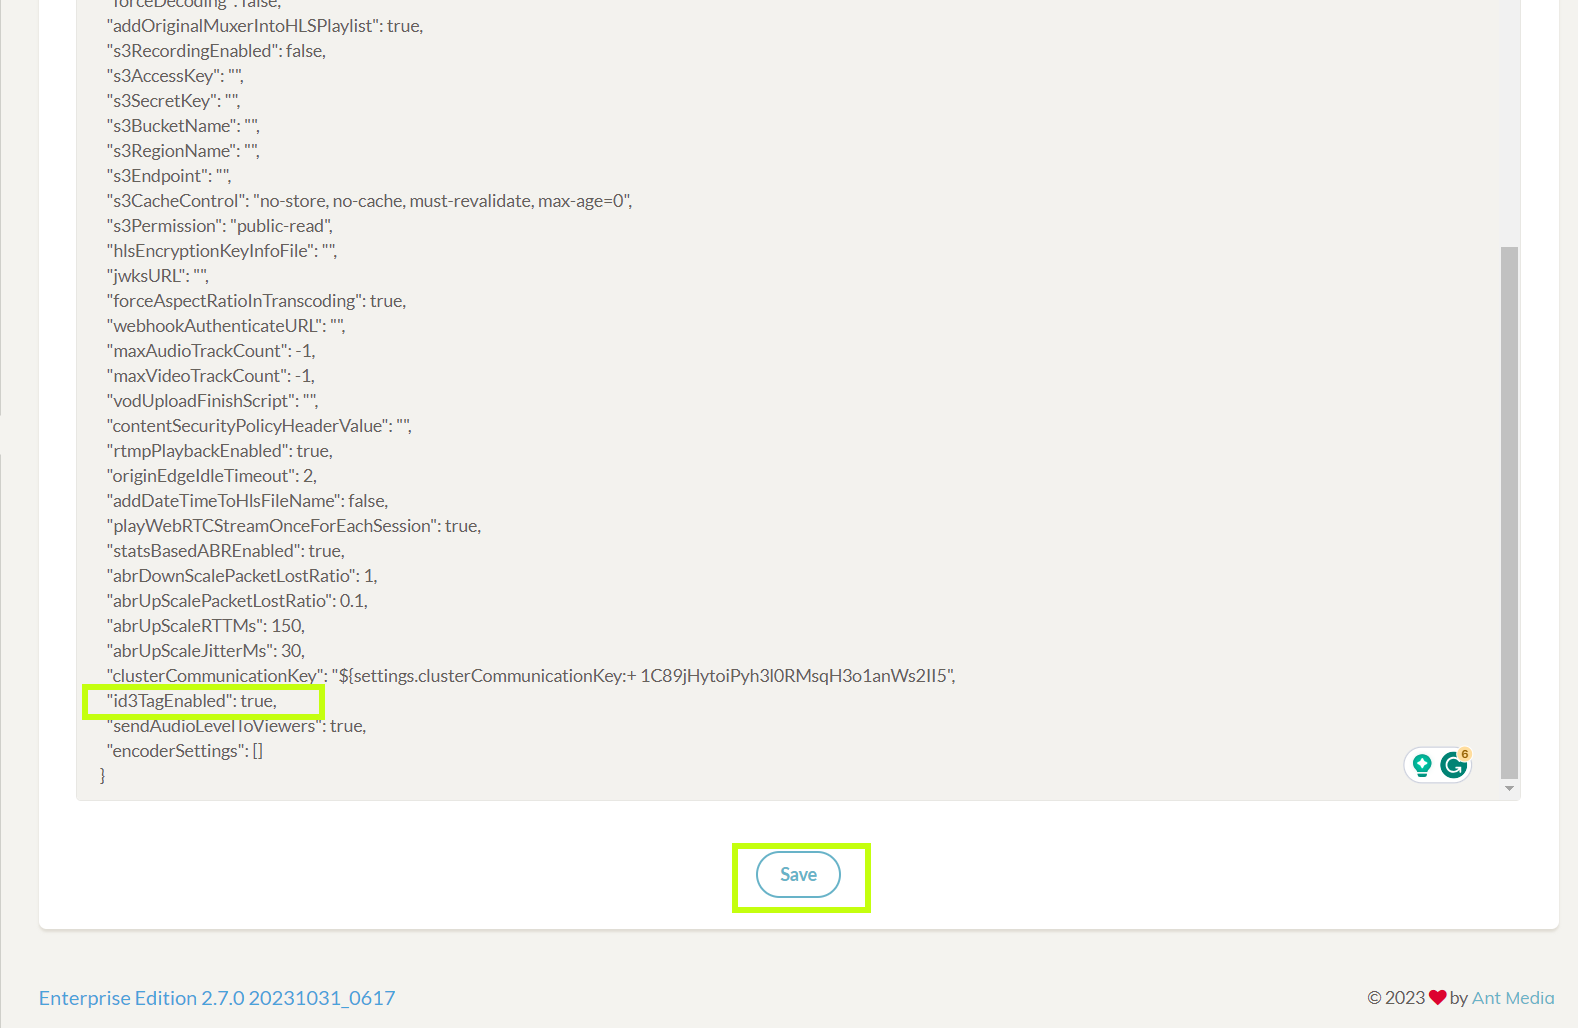
It can be enabled from the Advanced settings by making "id3TagEnabled": true located under the application settings on the Ant Media Server Web Panel.

Adding ID3 Text
To insert an ID3 tag into any stream, just call the REST method with your metadata and use that metadata in your player. Below is a sample cURL command
curl -i -X POST -H "Accept: Application/json" -H "Content-Type: application/json" "https://{AMS-URL}:5443/{APP_NAME}/rest/v2/broadcasts/{STREAM_ID}/id3" -d '{TEXT}'
Checkout this video tutorial where we discussed and demonstrated about ID3 tags.
Note: Currently ID3 Tags does not work with Ant Media Server default player (play.html) so you can use this Codepen sample for the testing.
Save HLS Records
HLS streaming is a more cost-effective and secure method of streaming than video-on-demand assets. Furthermore, you can also record your live streams with HLS:
- To enable HLS recording for your live streams and store all the HLS files (.ts and .m3u8), just log in to your AMS Web Panel, Navigate to the Application Setting -> Advanced, and configure the setting below:
settings.hlsPlayListType=event
To store HLS files permanently after the stream is ended.
settings.deleteHLSFilesOnEnded=false
To prevent overwriting of old HLS files in case the same streamId is used again, use the below property.
settings.hlsflags=+append_list
If uploading the files to S3, you can enable the date and time for the HLS files to prevent them from getting overwritten.
settings.addDateTimeToHlsFileName=true
After making the changes, you can scroll down and save the settings.
Now, your streams will be recorded as HLS.
Quick Link: App Configurations
Quick Link: FFmpeg Configurations