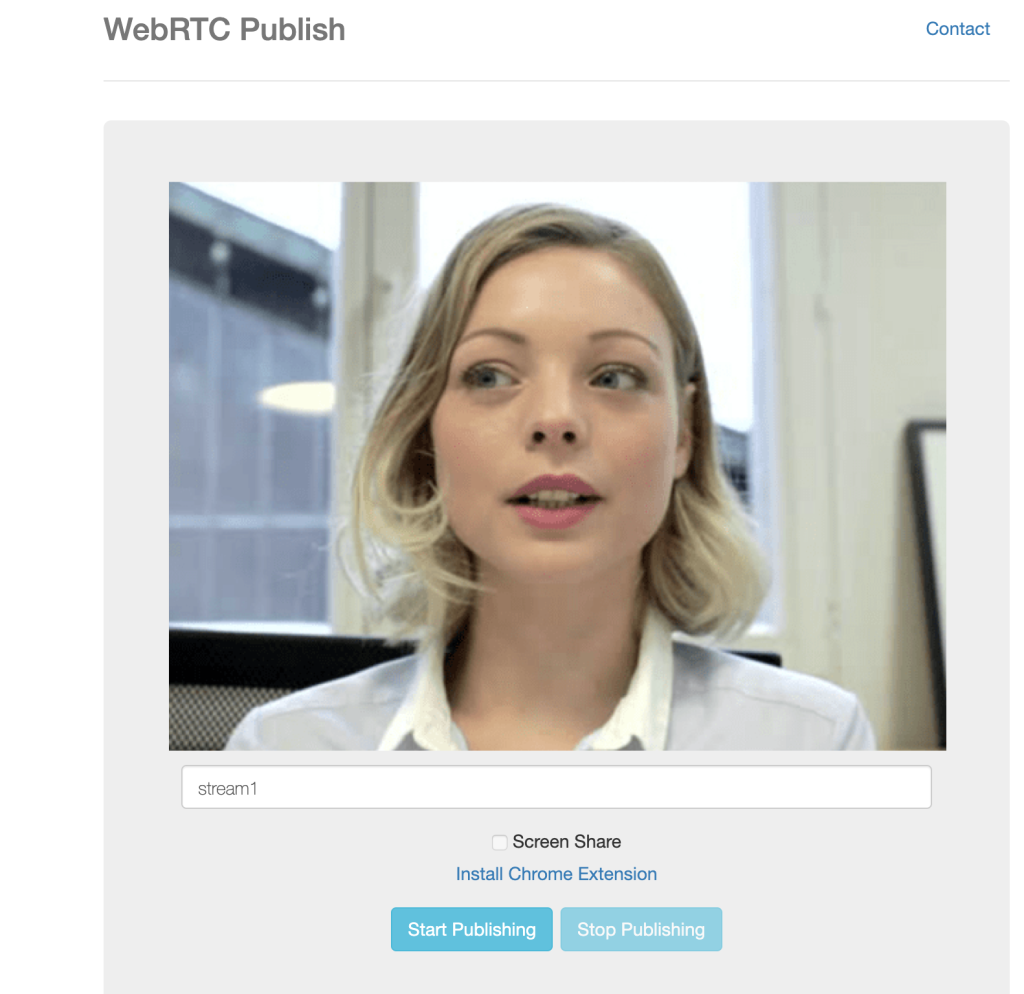
In this blog post, I will explain how to embed WebRTC publishing to a website. For certain cases, you may require to embed video publishing to a website where AntMedia Server is set up in another domain.
Before starting we need to put required libraries into a folder, which is named js in our case. Required libraries could be found in here.
Step 1: Create a Web Page and Embed WebRTC Publishing
Now create a web page HTML file on the same level with the js folder.
The content of the HTML page will be a copy of index.html in the StreamApp repository with some exceptions explained in the next steps.
Step 2: Remove JSP codes
Remove JSP codes which are used by the StreamApp java application:
<%@ page language="java" contentType="text/html; charset=UTF-8" pageEncoding="UTF-8"%>
var token = "<%= request.getParameter("token") %>";
Step 3: Manually set websocketURL
Manually assign your AntMedia Server url to websocketURL as in the following:
var webRTCAdaptor = new WebRTCAdaptor({

websocket_url : "wss://your_server_url:5443/WebRTCAppEE/websocket",

mediaConstraints : mediaConstraints,

peerconnection_config : pc_config,

sdp_constraints : sdpConstraints,

localVideoId : "localVideo",

debug:true,

callback : function(info, obj)
The key point here is that your URL starts with wss://. This means SSL is enabled in your server. You can enable SSL as described here.
If SSL is not enabled, URL needs to be like the following:
websocket_url : "ws://your_server_url:5080/WebRTCAppEE/websocket"
In this case, browser will not be able to reach the camera and mic because your domain is not secure and you will not be able to publish stream. There is a workaround for Chrome.
Step4: Run and Publish
Now our stream publishing web page is ready where AntMedia Server is in another domain.
In the next posts, embedding stream playing will be showed. If you have any questions, drop a line to contact(at)antmedia.io!
You may want to check out How to Embed WebRTC Live Streaming into Your Website in 2 Easy Ways?.


