Get ready to revolutionize your streaming game with the Ant Media Server Digital Video Recorder (DVR) feature. In this guide, we’ll unravel the magic behind enabling DVR with HLS streaming, giving you the ability to effortlessly rewind and explore your live-streamed moments.
Whether you’re a content creator or a streaming enthusiast, the DVR feature opens up a world of possibilities. Join us on this journey as we showcase the art of rewinding live streams, offering a dynamic and engaging experience for both creators and viewers.
Let’s embark on this adventure together and discover how Ant Media Server is set to redefine your streaming landscape. Ready to hit the rewind button? Let’s dive in!
Elevating Streaming with DVR and Its Versatile Use Cases
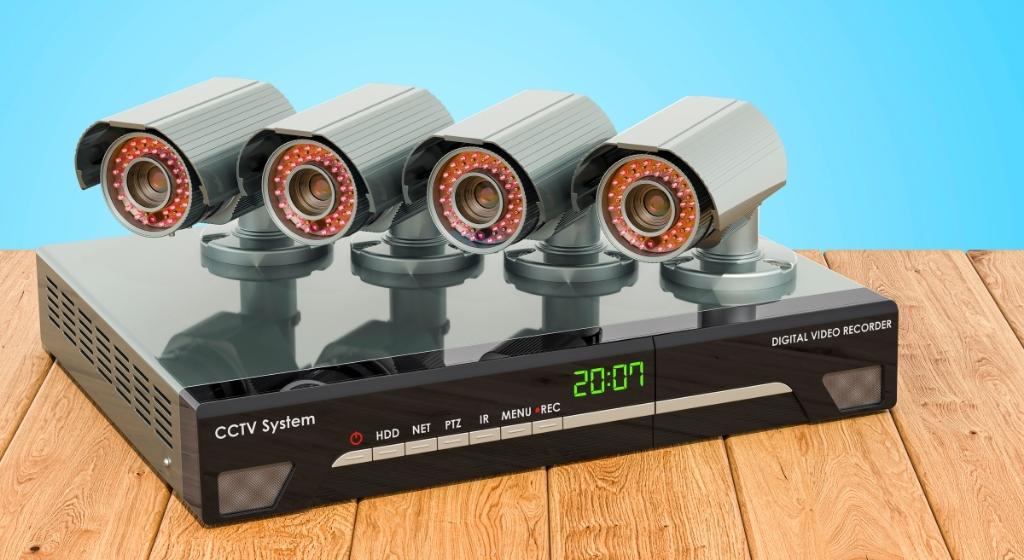
DVR isn’t just a feature; it’s a necessity for diverse scenarios where preserving and reviewing streaming history is paramount. IP Camera systems, in particular, find immense value in DVR, allowing users to check historical footage effortlessly. Ant Media Server empowers you to tailor and activate DVR seamlessly, unlocking endless possibilities for your streaming applications.
Embracing Live Rewind
Ant Media Server deletes the obsolete HLS segments by default. To enable live rewind and transform your streaming experience, we need to tweak the default application settings to make Ant Media Server keep every HLS segment (.ts and .m3u8 files) in the list. Here’s your step-by-step guide:
Navigate to the Application Advanced Settings
- Open your Ant Media Server Web Panel and navigate to the Advanced Settings section of your preferred application. For this guide, I’m using the WebRTCAppEE application.

advance settings
Add or Update the Below Properties
To let Ant Media Server save the HLS files, we need to update the default HLS properties such as:
"hlsPlayListType": "event",
"hlsflags": "+append_list",- hlsflags=+append_list is set to prevent overwriting of old HLS files in case the same streamId is used again.
Tailoring the Rewind Window Range
Now, let’s define the rewind range so that we can customize the length of recording we need to store and seek back.
"hlsListSize": "21600",
"hlsTime": "4",
"deleteHLSFilesOnEnded": true,- hlsListSize is the segment list size representing the number of .ts files in the .m3u8 file.
- hlsTime is the segment duration representing the duration of each .ts file in seconds.
- so the above settings mean 21600×4=86400 seconds, counting to 24 hours.
- Therefore with the above settings, you can rewind up to 24 hours and customize it per your use case.
- deleteHLSFilesOnEnded = true means that after your stream has ended, all the .ts and .m3u8 files of that particular stream will be deleted. If you would like to keep the files even after the stream has ended, you can set the property to false.
Streamlining the Settings for IP Cameras or Stream Sources
For those who are harnessing the power of IP Cameras or stream sources, if you would like to clear the HLS files periodically to make efficient use of storage, you can utilize the following settings:
"hlsPlayListType": "event",
"hlsflags": "delete_segments",
"streamFetcherRestartPeriod": "86400",
"deleteHLSFilesOnEnded": true,streamFetcherRestartPeriod: Initiates a stream source restart every 24 hours (86400 seconds) while clearing the .ts and .m3u8 files with each restart.
Rewinding the Live Stream with Ant Media Server Embedded Player.
Now that we have configured the related settings, let’s see how we can play the stream with HLS and seek back

- Open your Ant Media Server embedded web player in your browser at “https://YOUR_SERVER:5443/WebRTCAppEE/play.html?id=rewind&playOrder=hls“

- Scroll the cursor to your desired location on the playback status bar to rewind anywhere and anytime.

- If you want to play the .m3u8 file directly in the player of your choice, the direct .m3u8 file path is like https://YOUR_SERVER:5443/WebRTCAppEE/streams/rewind.m3u8
By following these steps, you can seamlessly enable DVR in HLS with Ant Media Server, offering your viewers the flexibility to rewind and explore past moments in your live streams.
So now you can rewind and unwind 🙂
In conclusion
Now that you’re familiar with how to record your streams with HLS and enable the rewind feature with Media Server, would you like to know more about Ant Media Server and Ultra-low latency WebRTC streaming? Then, let’s schedule a meeting to have a coffee and chat
Ensure you leverage our comprehensive documentation and community knowledge base. If you have questions or need any type of support, contact us via a form or write to contact@antmedia.io
Let’s democratize live streaming together.
Cheers!


